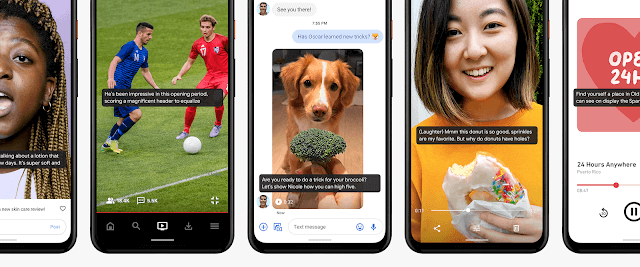
The sad news is that it is only available for the Pixel 4 devices, but you can get this feature using root access.
Prerequisites
To enable Live Captions on Android 10, you will need a rooted or non-rooted Pixel running on stock Android 10. It is recommended that you root your device with Magisk. And download these files on your device
Device Personalization Features (for Pixel 4)LiveCaption_Pixel.zipLiveCaption_nonPixel.zip
Related Blogs
How to Root Your Android DeviceBest Magisk Modules for Your Rooted Phone9 Best Apps for Rooted Phone
Enable Live Captions on Android 10 Phones
Step 1: Go to Settings and check if Device Personalization Services is installed on your phone or not. No need to check this in Pixel devices because it comes pre-installed. Step 2: If you have the Device and Personalization Services installed, download the APK file from the link given above. Make sure that you have 2.6.278396641(659672) version of the app. Step 3: Download and Install ‘Magisk Manager’, launch the app and go to ‘Downloads’ section. Step 4: Search for ‘SQLite for ARM aarch64 devices’ Magisk Module, install it and restart your phone. Step 5: Now, install ‘LiveCaption_Pixel.zip’ if you have a Pixel phone, or install ‘LiveCaption_nonPixel.zip’ if you have a non-Pixel phone. Step 6: After installation, reboot your phone. Step 7: Go to settings then ‘Sound/Accessibility’ and find Live Captions feature. Step 8: Toggle the Live Captions feature and try watching a YouTube video, and see if the feature is working or not. If not, restart your device again with the feature on. That is how you enable Live Captions on Android 10 Phones and it is a very good feature to have overall as you can watch a video in low volume and avoid long-term hearing problems. Read More About
Top 5 Custom Kernels for AndroidGoogle Gboard Vs SwiftKey Keyboard – The Best Android Keyboard
